Search
Social Media
Dominika Karta Wstępu – Poland
Teresa Cruz – Portugal
Hello G45ers!
Brace yourself for an extraordinary journey through a Treasure Box filled with exquisite Albums and Tags! Join Graphic 45 Brand Ambassador, Cal Summers, as she unveils the latest blog post that celebrates how #G45LeveledUp the world of paper crafting. Get ready to be amazed by the artistry, creativity, and pure magic that awaits within these captivating Enchanted Forest and Voyage Beneath the Sea Collector’s Edition. Let’s dive in and unlock the limitless possibilities together!
“Hey G45ers – I’ve had an awesome time putting this project together for you – I hope you love it as much as I do!
I’ve mentioned before the awesome resource on the G45 Blog with past classes, this month I’ve coupled it together with an older G45 Club Album kit I got here.
You can find the written instructions here.
Chest instructions here and original hinge album here.
Enchanted Forest Deluxe Collectors Edition 12×12 Collection Pack
Enchanted Forest Deluxe Collector’s Edition 8×8 Collection Pack
I also used my Tag dies you can find here.
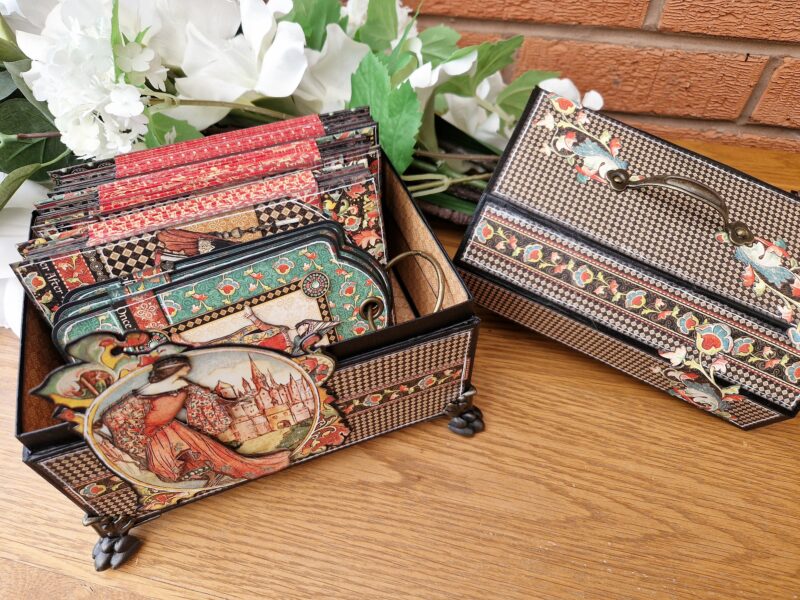
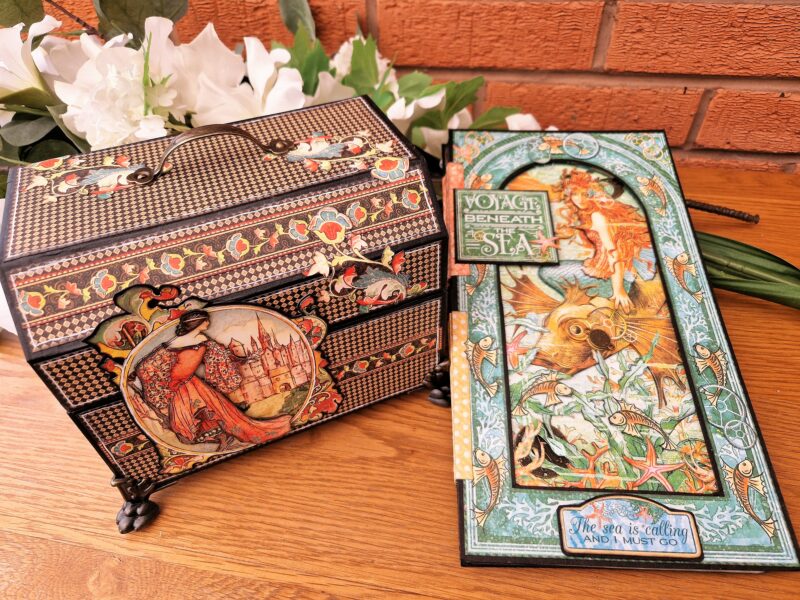
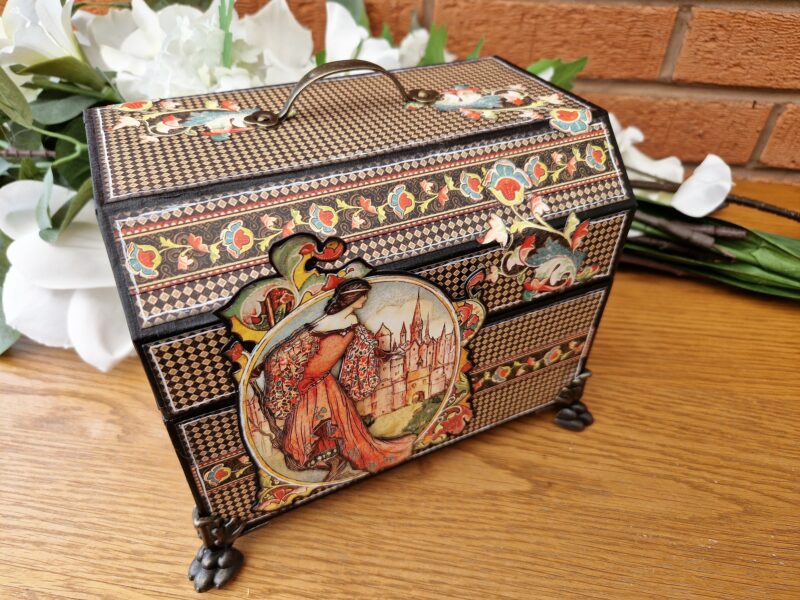
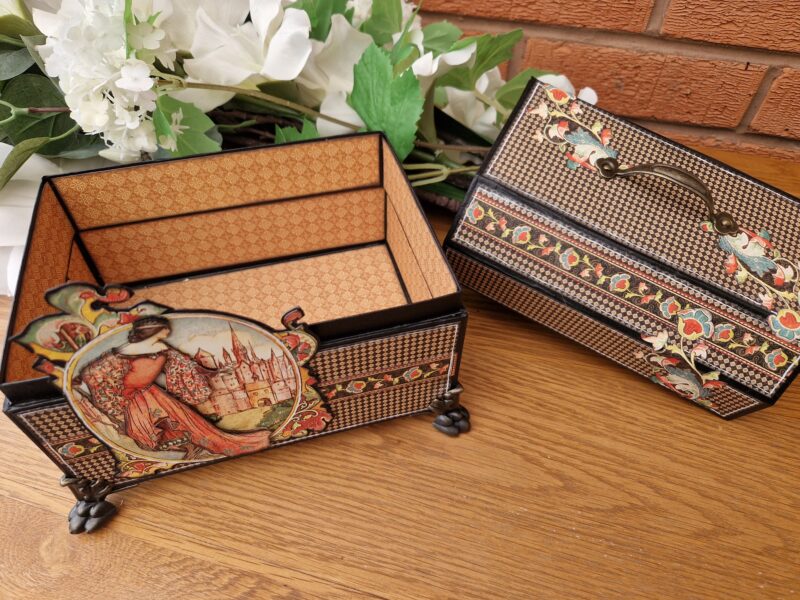
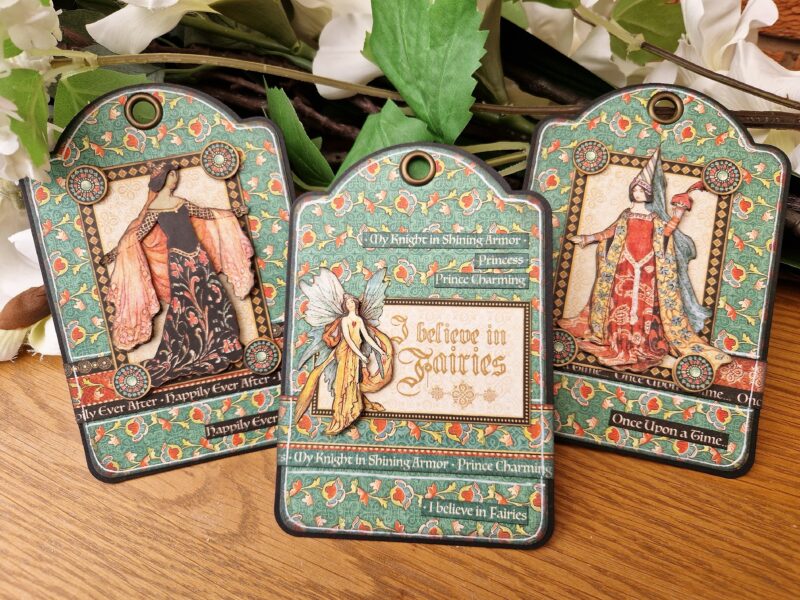
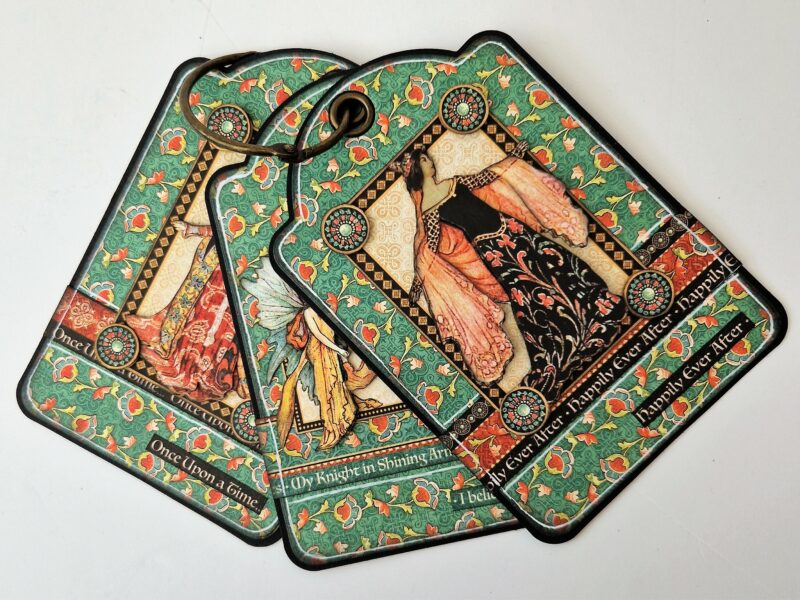
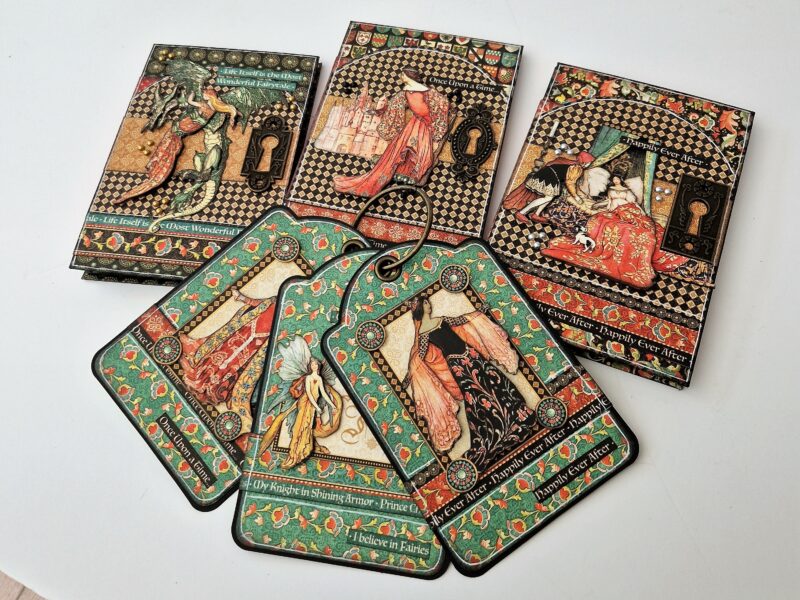
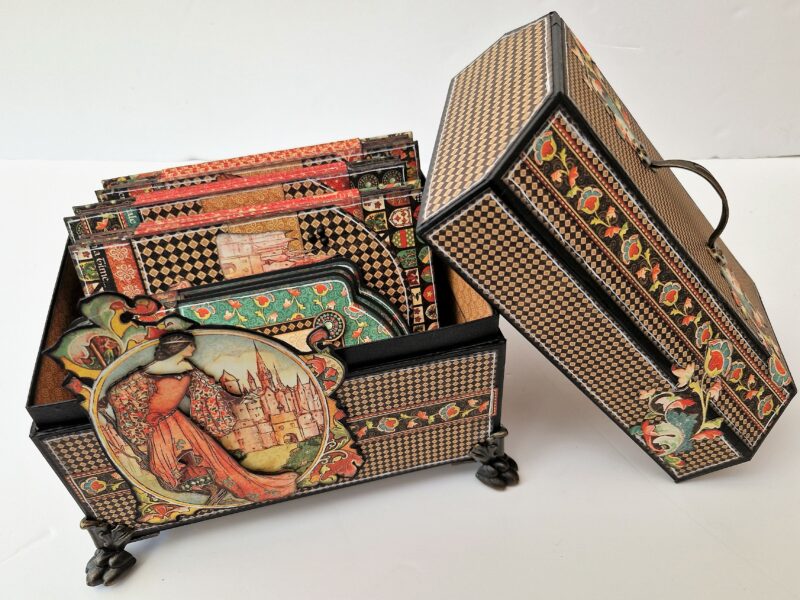
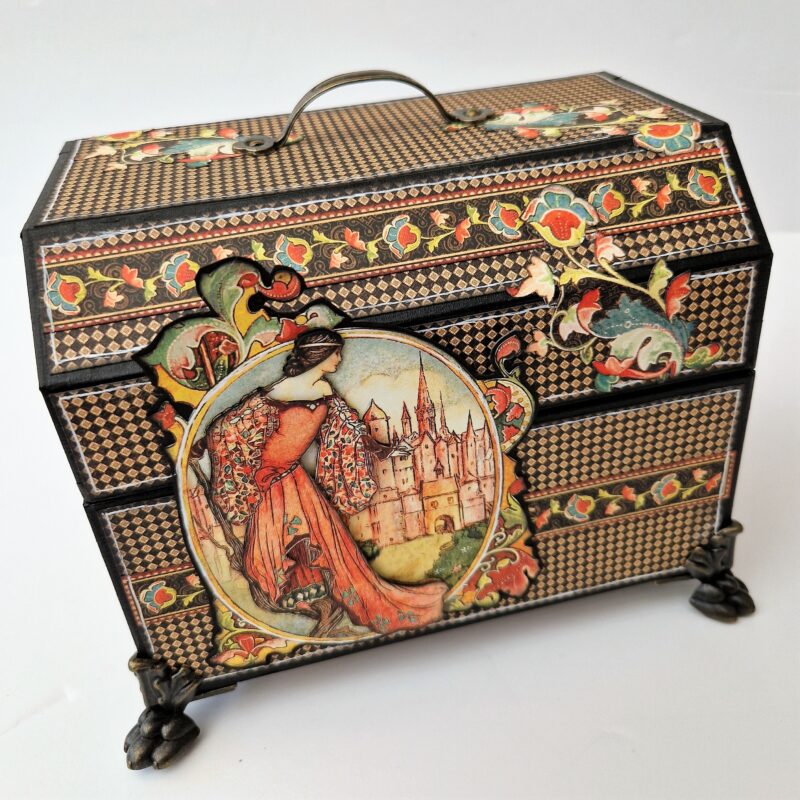
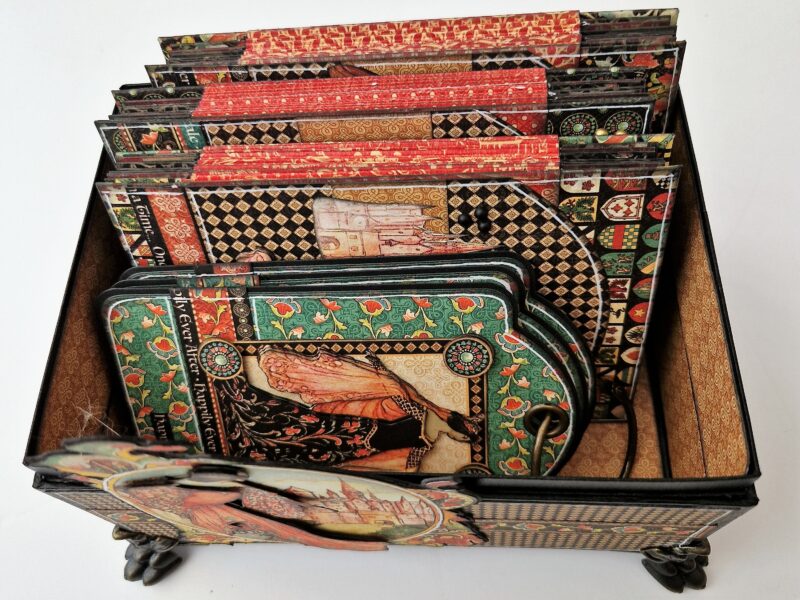
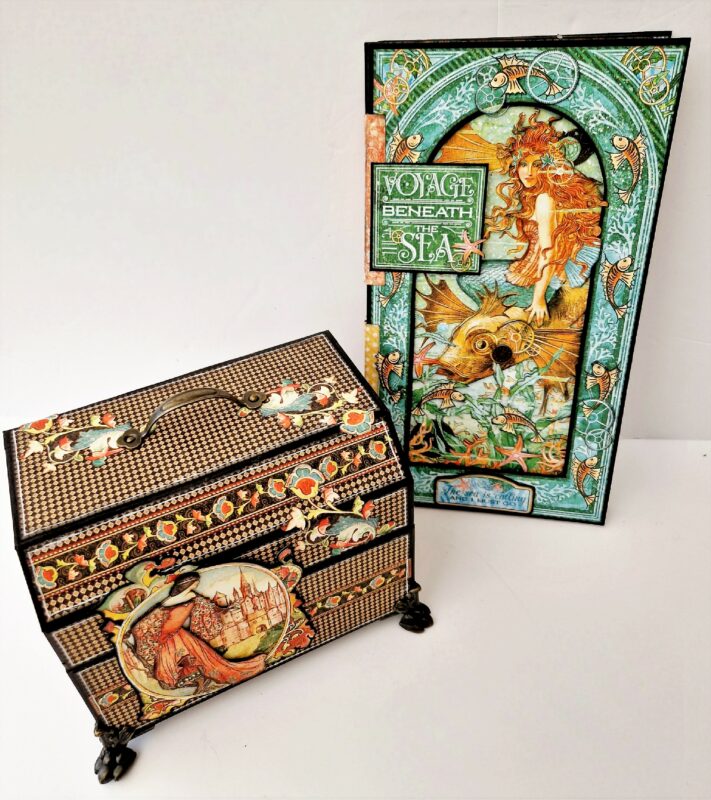
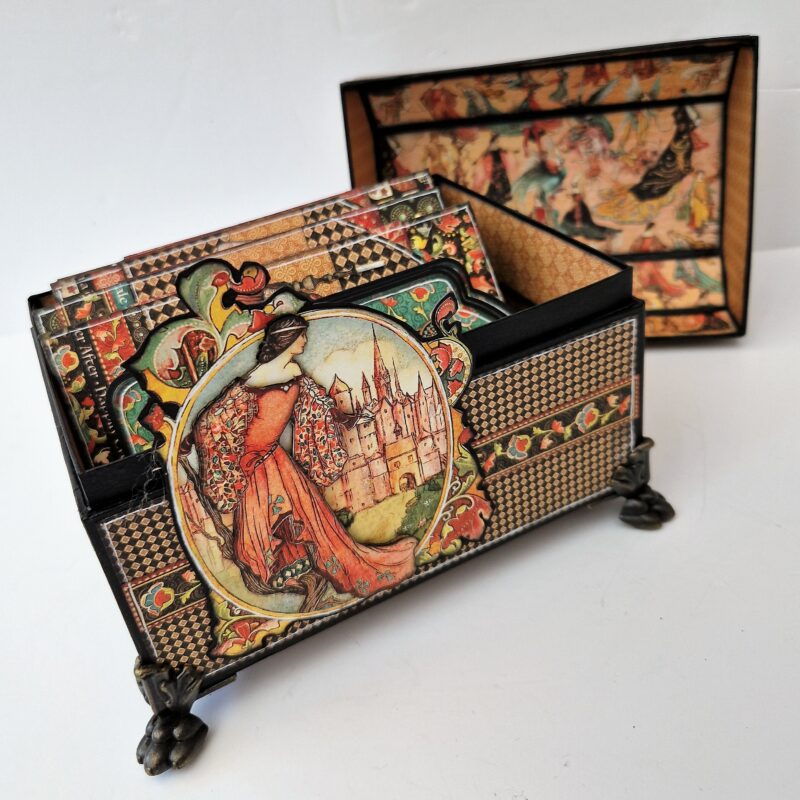
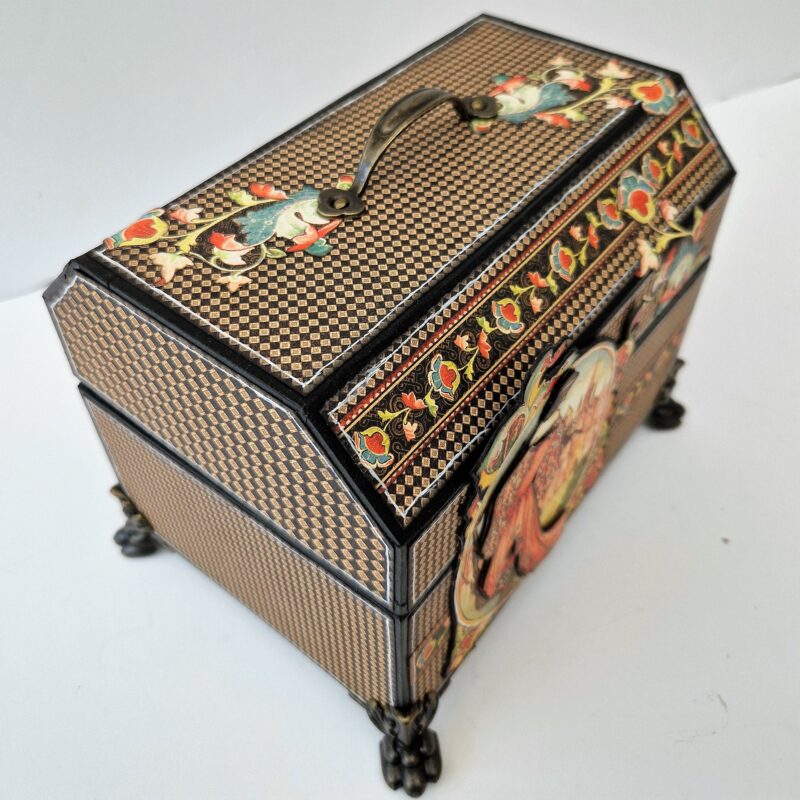
I followed Annette’s tutorial and Charee’s YouTube video you can find here and original hinge album here – they are so thorough there’s really not much I can add except to say I leveled up by using a few extra bits and bobs like the handle and feet to my box and instead of one album I made three as well as a little tag album to use up the few bits I had left.
However, because I had the Voyage Beneath the Sea Deluxe Collectors Edition as part of my Club G45 Album kit I made a super sized Accordion album and that’s what I want to show you how to do now. There’s a full class video you can follow or I have some written instructions below. However, I thoroughly recommend using these alongside Annette’s original written instructions here.
The first thing I did was cut two pieces of black chipboard at 6 ½ x 12 inches. I cut out the large semi circled mermaid signature page and cut out the mermaid from the centre. I inked the edges and made sure the image fitted on one of my chipboard pieces. I then added a piece of patterned paper to the pack of the chipboard and carefully cut out the aperture on my cover. I added patterned paper to the back cover too. There is no aperture on this piece.
I used the mermaid and fish image and layered up fussy cut pieces from the other two signature sheets so that I had a real 3D image to put on my front page that would peek through the aperture cover.
I then cut my hinges. I chose two different sheets of the 12 x 12 and cut six pieces in total at 12 x 4 inches. You can score on the 12 inch side every 1 ½ inches and fold and burnish so you have a zig zag shaped hinge. We are making two hinges each using three of the 12 x 4 pieces. Two of these pieces should have “mountains” at the beginning at the other a “Valley”. Glue the three pieces together with the “valley” piece in the centre of the hinges to form one long piece. Then you need to glue all the ”mountain” parts of the hinge shut so you have a total of 12 hinges. The first and last will be single unglued pieces. You need to cut the first single 1 ½ inch hinge down to half an inch.
Next I measured down on the front left hand side of my aperture cover 1 ½ inches from the top and 1 ½ inches from the bottom. I took my hinges and I stuck the half inch one starting at each pencil point so that the outside single hinge piece was adhered to the outside of my cover and the first double hinge to the inside. I repeated this on the back cover. You will need to cut the first double hinge inside the aperture down as it will show through the aperture.
You then need to cut your pages. I cut eight at 12 x 12 and folded right down the middle of each sheet so each page would open as if in a book, i.e. the fold on the left hand side. I used a corner rounder on all my corners and then inked all the edges.
Starting with what would become my back page I opened up my cover and hinges and laid down the page on the next set of hinges from the back and I marked with a pencil where the hinges would go. I then took a sharp craft knife and carefully cut along the fold the length of each hinge. I then threaded this page on to the hinge. Repeat for all eight pages.
To secure the hinges I glued the back of each hinge onto the inside right hand side page of each “signature”. I then used pattered paper or cut apart images to cover these.
I took my layered up mermaid image and adhered it to the front page behind the aperture cover so it was peeking through. I then used cut aparts, chipboard images and fussy cut elements to add interest to my cover and front page.
Take a look here to see how I decorated.

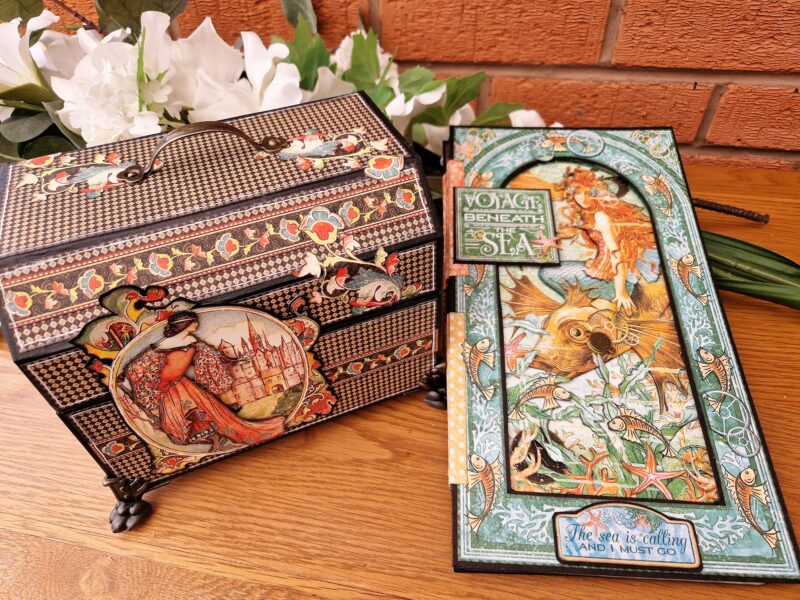
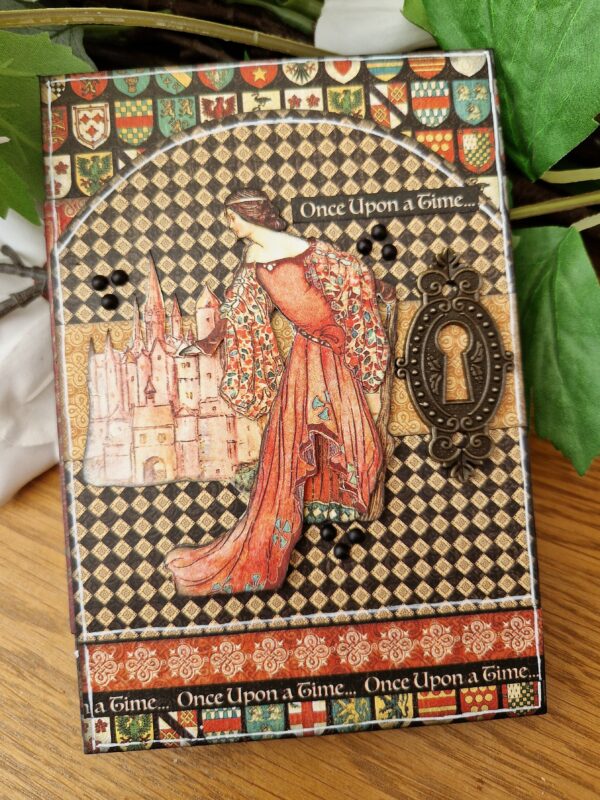
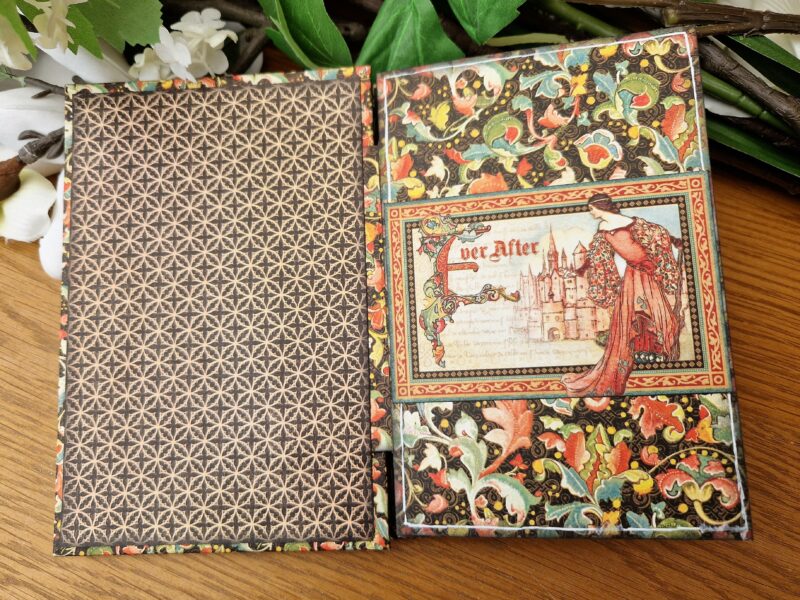
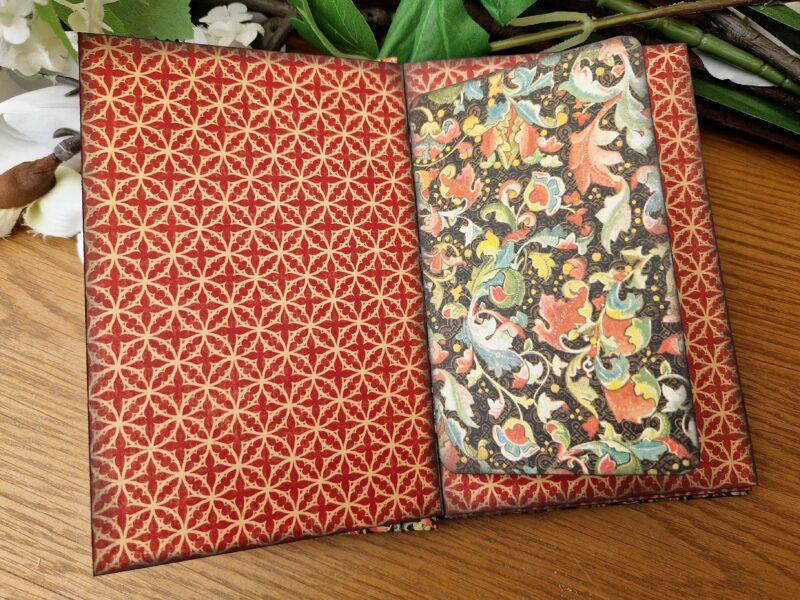
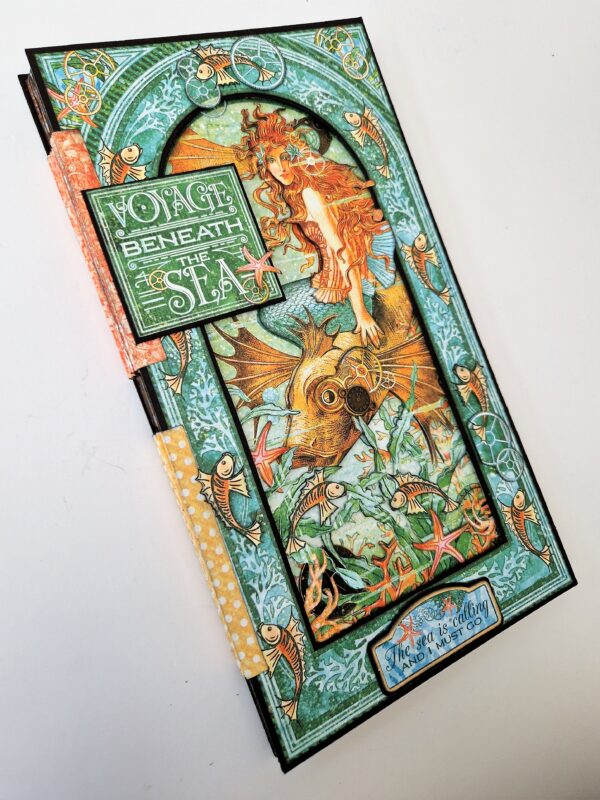
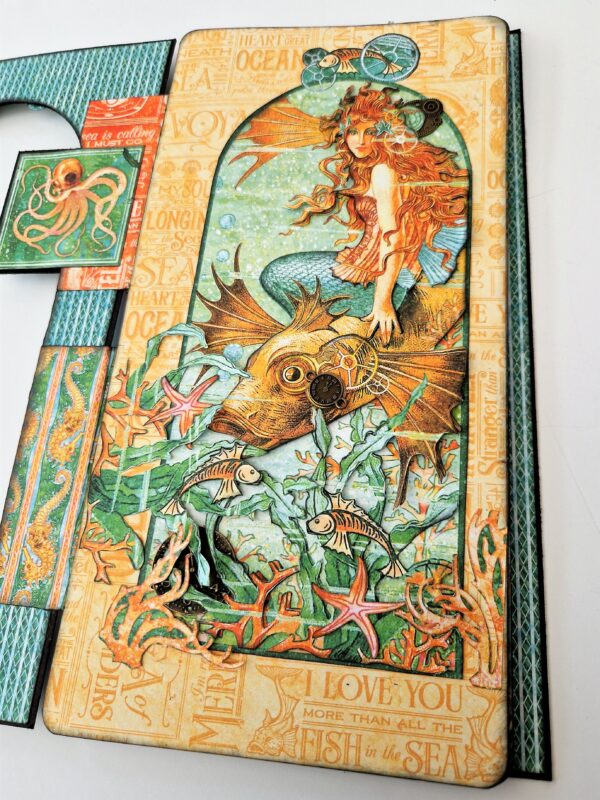
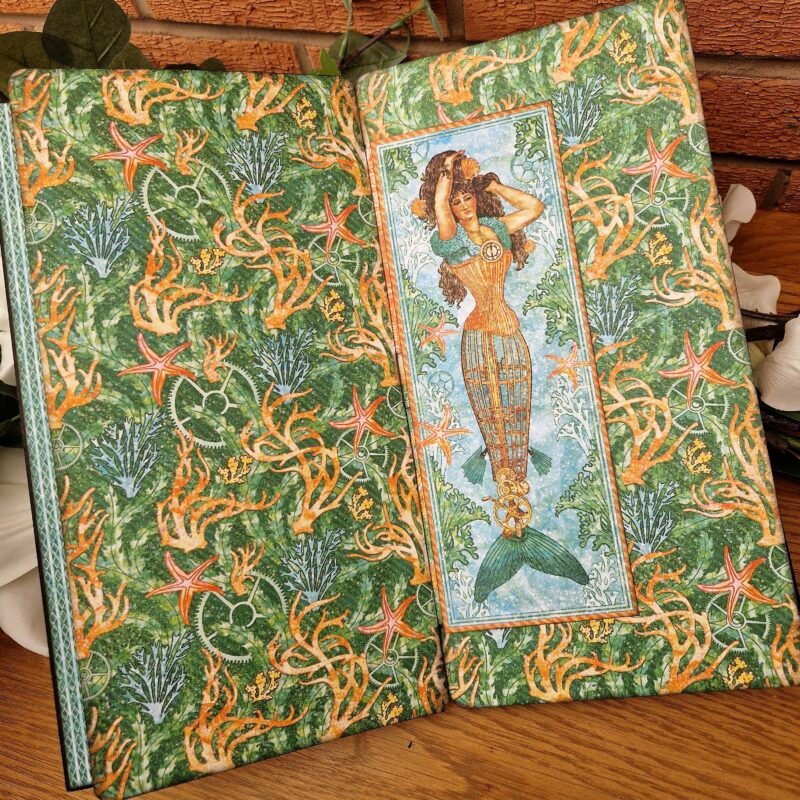
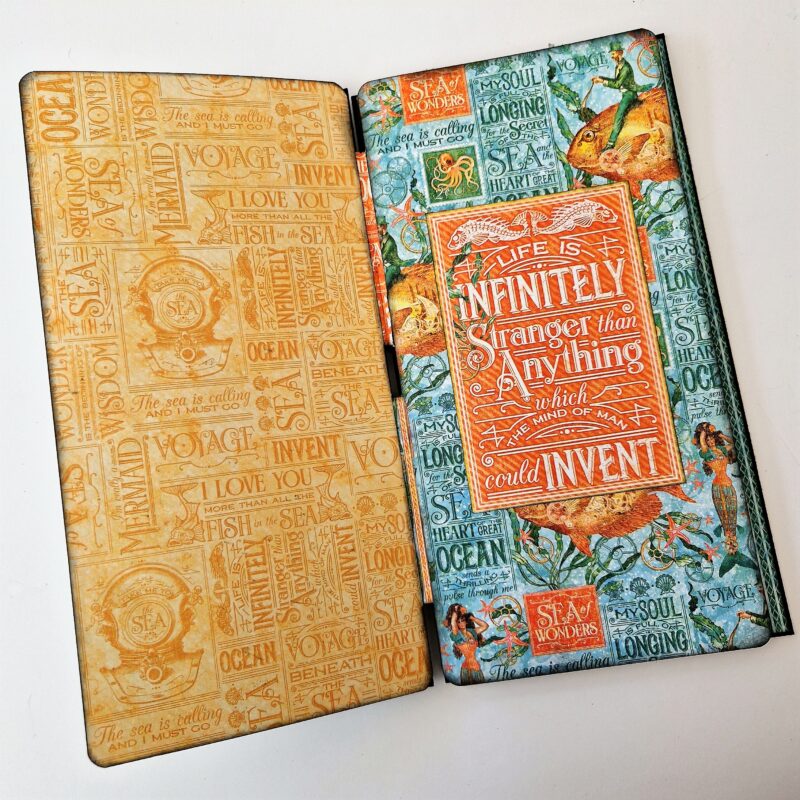
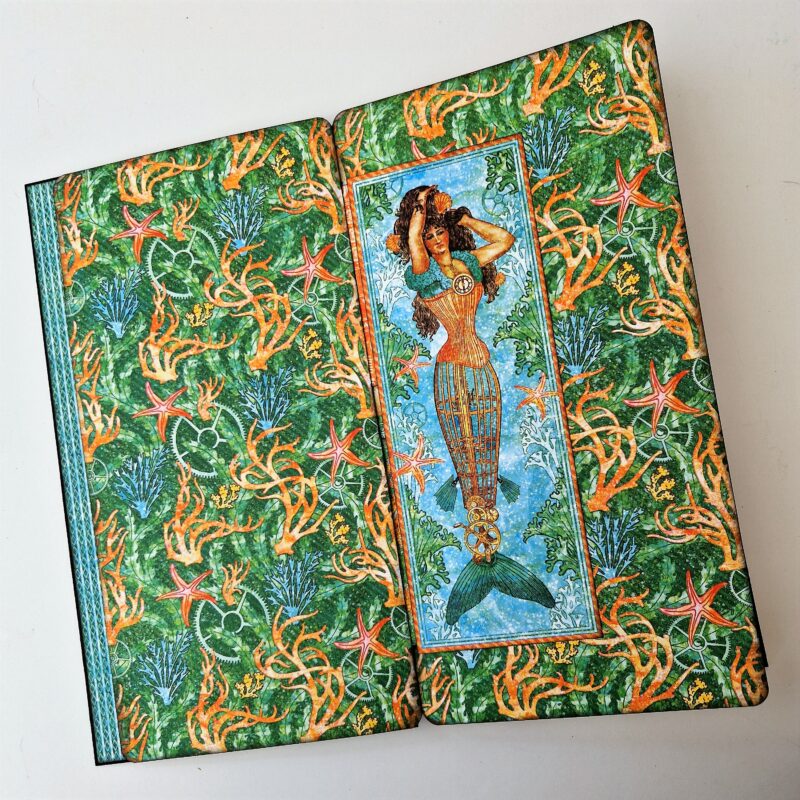
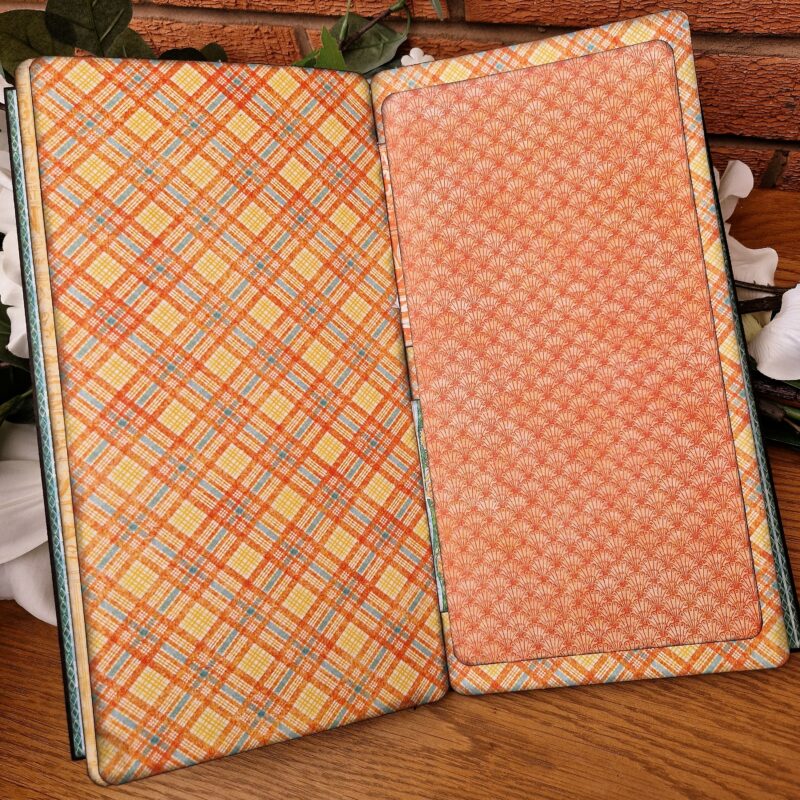
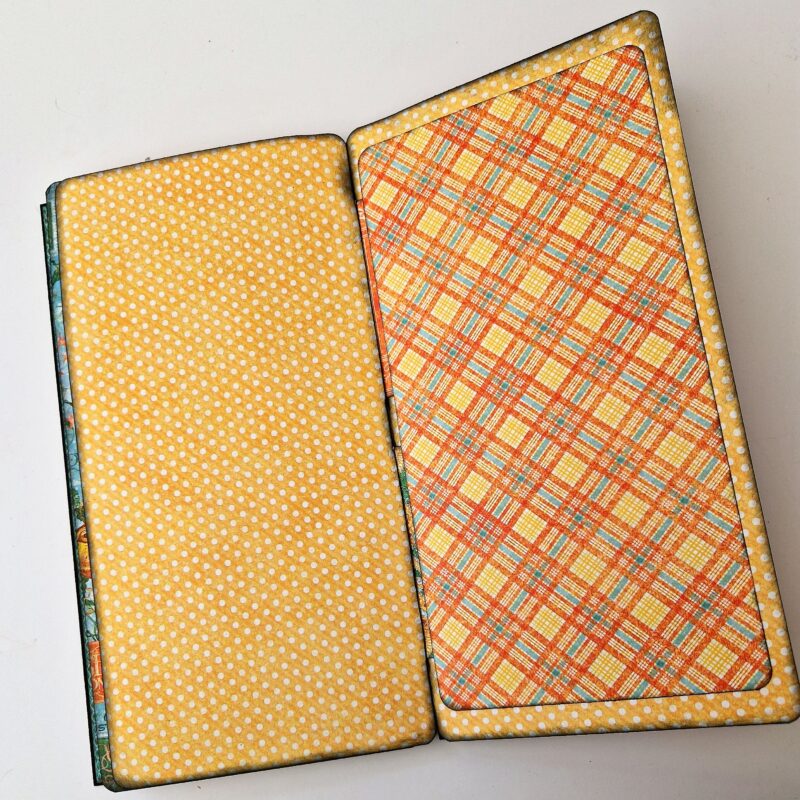
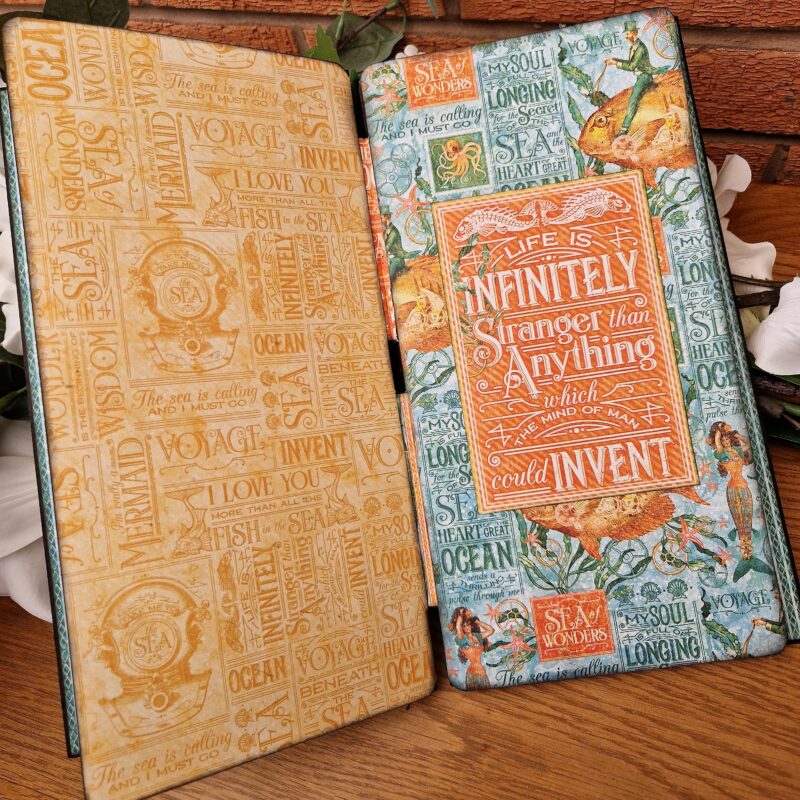
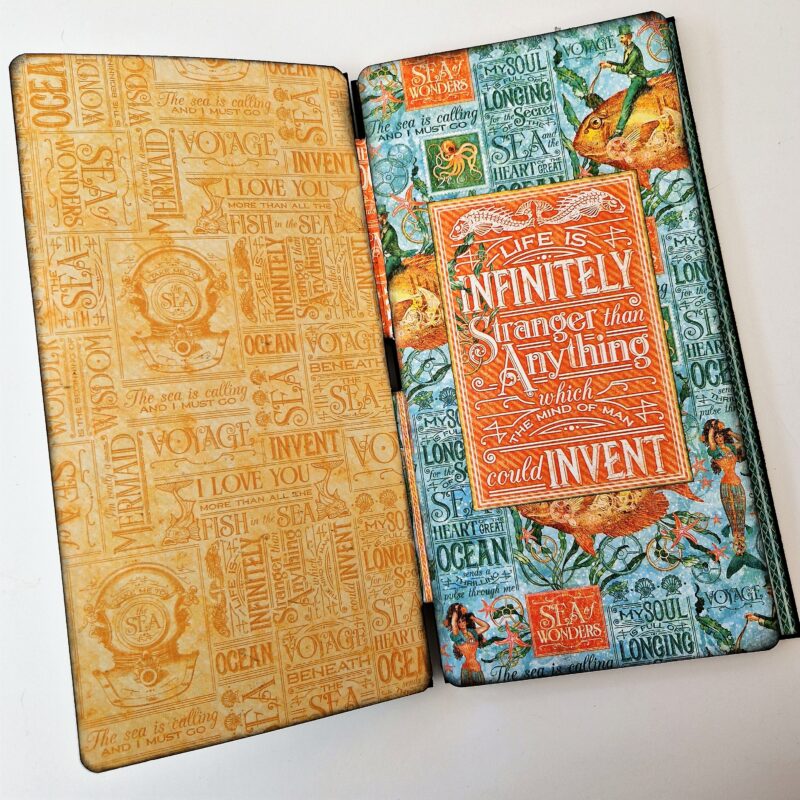
I have so much space for all my summer seaside photos now and I’ve got lots of bit of stickers and chipboard left so I can really go to town when my photos are printed.
I hope you have a go at the #G45levelup challenge and share your makes on the Community Page!
Thank you for joining me today – and happy crafting!” ~Cal
Sign up to receive news and special offers!